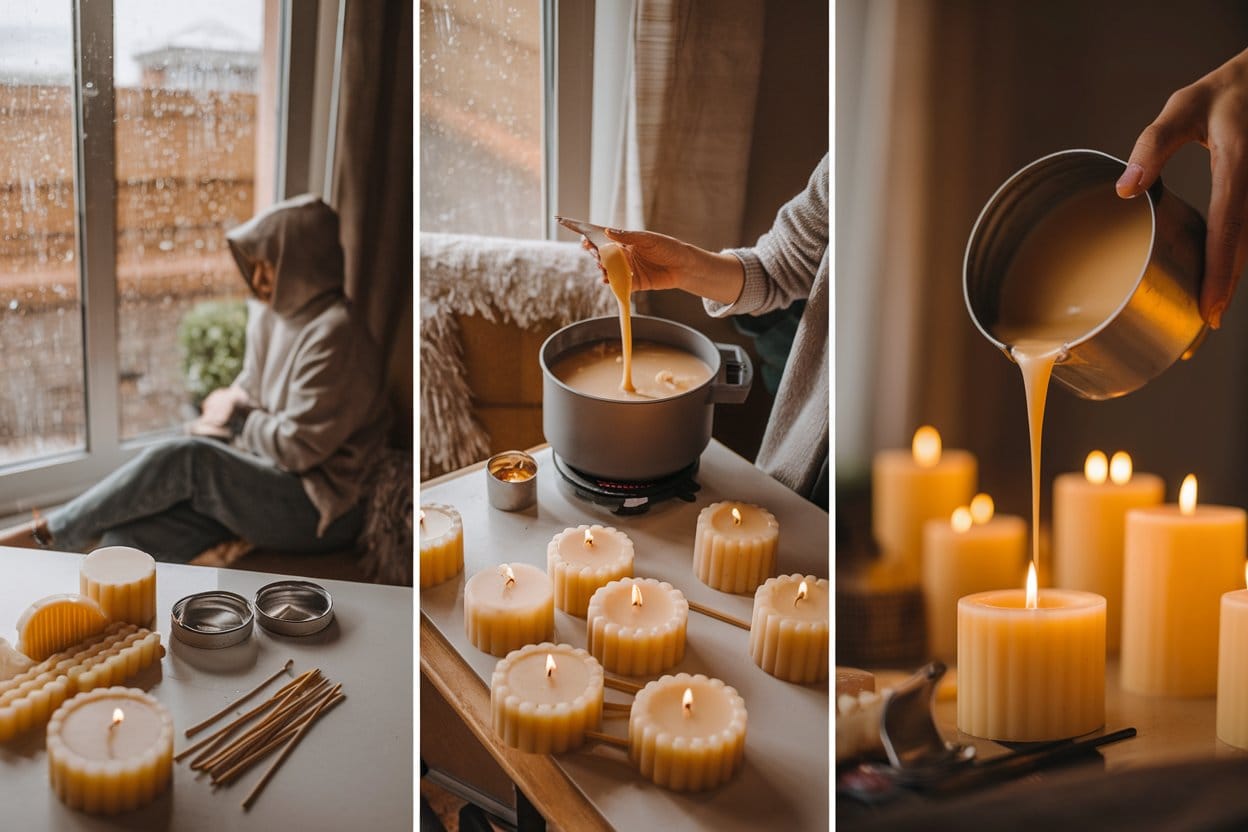
Making candles is a naturally rewarding activity. Imagine that it is raining outside in the afternoon, and the air smells like heavy rain. You are cosying up at home and can not wait to start a new project. A friend recently gave you a lovely but easy-to-use kit for making candles. The thought of making your own home scent sounds absolutely wonderful.
You get all the things you need and start making your first homemade candles. As the pure wax turns into a smooth, golden pool, the room fills with the soft, warm scent of beeswax. It is amazing how relaxing the process is; it is almost like meditation, and you get lost in the simple joy of making things. The flicker of the melting wax reflects a sense of calm that feels therapeutic, and you can’t help but compare it to the tranquility you find in other mindful activities. It reminds you of the beginner yoga tips for home you recently came across, emphasizing the importance of breathing deeply and staying present in the moment. As the candles begin to take shape, you feel a sense of accomplishment, knowing you’ve created something both functional and soothing.
How did it turn out? Create your own beautifully made scented candles to infuse your home with a personal touch. This basic guide will help you make candles at home. It is straightforward and fun. Everything you need to start, from selecting the right materials to adding the right scents, is readily available.
Choosing Your Candle Materials

Getting the right supplies is essential if you want to start the fun process of making candles. Each kind of wax, tool, and piece of equipment is crucial to the quality and performance of the candles you make. Let’s get to the details of making this process fun and successful.
Types of Wax
Starting your candlemaking journey with the right wax is important. There are a few famous choices:
- Soy wax is an option because it burns naturally and cleanly. It’s an excellent option for individuals seeking to contribute positively to the environment.
- Beeswax: It has a wonderful natural smell and burns for a long time. It costs a little more, but for some jobs, it is well worth it.
- Paraffin Wax: Very flexible, and it gives off a strong scent. People often choose it because it maintains colour well.
There are different kinds of wax, and you can choose the one that best fits your needs and goals when making candles.
Essential Tools and Equipment
Candle-making goes more smoothly and is more enjoyable when you have the right tools and equipment. These are the important things:
- Candle Wicks: The substance that forms your candle. They come in different shapes and sizes to fit different kinds of wax.
- Wax Melting Pot: A specialised pot for safely melting your chosen wax. A must-have for precise temperature control.
- Candle moulds: The right pot for safely melting your chosen wax. It is essential for achieving precise temperature control.
- The thermometer is crucial for monitoring the temperature of the wax, preventing it from overheating, and ensuring a precise pour.
These tools not only make it simple to make candles at home, but they also make them better.
Preparing Your Work Space

For making safe candles, the most important thing is to have a clean and safe place to work. Let’s discuss the crucial considerations and safety tips to ensure a smooth and enjoyable experience.
Setting Up Safely
First, picking the right place to make candles is very important. Choose a room with adequate air flow to keep fumes from building up. Also, making sure you use surfaces that can handle high temperatures will keep your work area safe from spills or high temperatures.
Keeping burning things far away is the best way to avoid any possible dangers. Always keep a fire extinguisher or bucket of sand close by as a safety precaution.
Organising Your Materials
A well-organised work area can make the process of making candles greatly easier. First, divide your tools and items into groups. Create separate areas for various tasks, like a pouring place and a cooling station. Racks and storage bins can help keep everything within simple reach and keep your workplace organised.
In addition to making work easier, this organised setting also helps keep things safe by reducing clutter and the chance of accidents.
The Step-by-Step Guide to Making Your Own Candles

The process of making your own candles is enjoyable and satisfying. Here is an easy way to make wonderful candles at home.
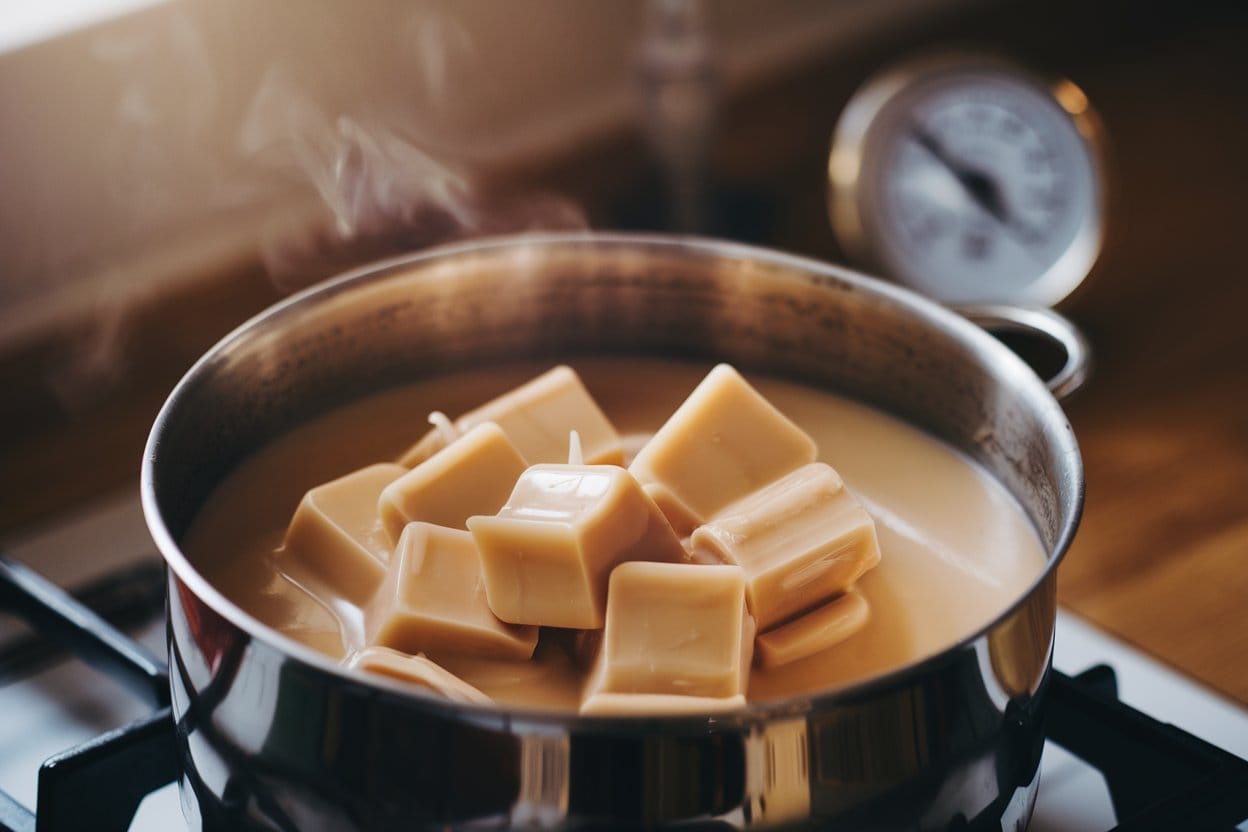
- Melting the WaxBefore you melt the wax, cut it up into smaller pieces. To melt the wax, put it in a jar that can handle heat and set it over a pan of simmering water. Stir the mixture slowly until all the wax melts and the temperature hits about 70 °C. This step ensures that the wax melts completely, resulting in the best pour quality.
- Securing the WickWhile the wax melts, prepare your candle shape or container. Use a small amount of hot glue or double-sided tape to connect the tip to the base. Make sure the wick is in the middle, standing straight up. This will help the candle burn evenly once you’ve made it.
- Pouring the WaxAfter the wax has melted, slowly pour it into the jar you have ready. Pour slowly so that you do not make air bubbles. Leave some space at the top. Avoid moving the container during this step to ensure that the surface is smooth.
- Setting CandlesTake the wax out of the oven and let it cool down to room temperature. Avoid putting it in the fridge because it can crack if it cools down too quickly. If you use a small container, it will take about 4–6 hours for the light to fully set.
- Candle CuringCuring is the last step in making a candle. You should wait one to three days before lighting your candle. This time allows the wax to fully solidify and the scent to permeate the entire candle, ensuring an even burn.
Tips for Adding Fragrances and Colours
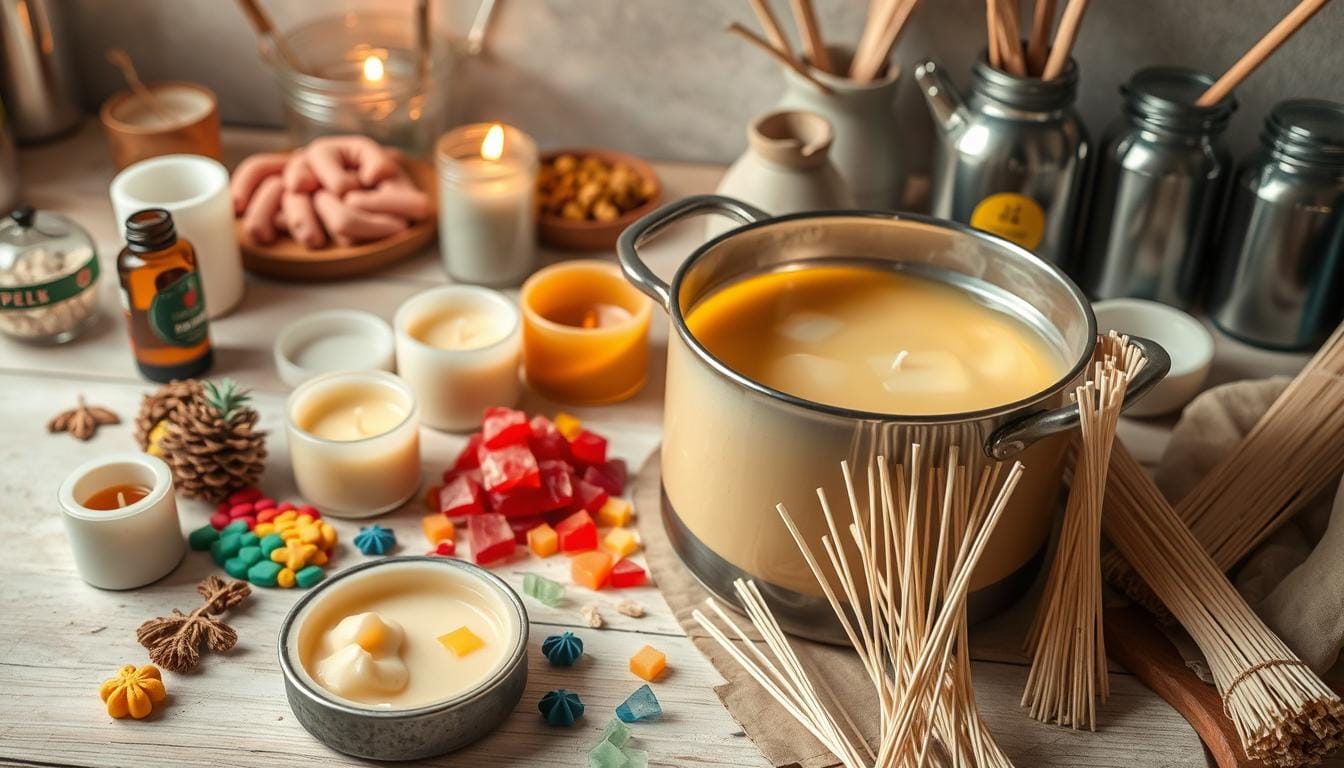
In candle making, adding scent and colour is where personality really shines. You could use essential oils or fragrance oils to add a pleasing smell. Each type has its own smell. Essential oils are excellent for aromatherapy candles because they have natural benefits, while fragrance oils come in a wider range of modern and classic scents.
A good-scented candle should have about 30 ml of oil for every 500 g of wax. Using candle dye to add colour to your candles makes them more interesting to look at. Add your chosen dye to the melted wax before putting it into the mould, whether you are making personalised candles for a special event or just to try something new.
This ensures that the colour disperses uniformly and maintains its brightness. To make a lovely candle, start with a small bit of dye and add more until you get the colour you want. When you add these things, the timing is important. Once your wax has cooled down to about 65°C, add essential oils or fragrance oils. This will help the oils keep their strength.
To keep the candle dye from being patchy, mix it well while the wax is completely melted. Making custom candles with the right mix of colours and scents makes sure they are beautiful to look at and enjoy.
Conclusion
As we come to the end of our candle-making adventure, I hope you have learnt that making your own candles is not only a fun hobby but also a wonderful way to make your home look more unique. Making your own candles gives you a unique sense of joy when you see them light up and fill your home with scents and warmth.
Craft projects like these that you can do yourself are not only a wonderful way to personalise your home decor, but they are also fun, relaxing, and creative. Whether you have used soy wax for a cleaner burn, tried out different scents, or added bright colours to your candles, each step is important to the success of your project.
Never forget that your skills are applicable beyond this job. You can find a huge number of do-it-yourself art projects online. Enjoy the process of making something truly yours as you keep trying new things and adding your own unique twists. Your handcrafted items are unique and beautiful, and your skill in creating these candles is evident.
FAQ
What are the basic steps to start the candle-making process?
Before you can start making candles, you need to get your supplies together. You will need natural wax (soy, beeswax, or paraffin), wicks, a pot for melting oils, and candle shapes. After securing the wick, you melt the wax and pour it into the moulds. Then you wait for it to set and dry.
Which types of wax are best for homemade candles?
You can make your own candles with different kinds of wax, such as soy wax, beeswax, and paraffin wax. A lot of people like soy wax because it has natural ingredients and burns clean. Beeswax is another natural choice that has a slight honey scent. People commonly use paraffin wax due to its affordability and versatility.
What essential tools and equipment do I need for candle crafting at home?
A wax melting pot, candle wicks, a thermometer, and candle moulds are some of the most important tools and supplies you will need to make candles at home. For safe candle making, you also need a surface that can handle heat and a room with adequate air flow.
How can I ensure my work space is safe for candle making?
To make sure your workspace is safe for making candles, pick a place with adequate air flow and objects that will not melt. Keep items that can catch fire away from where you are working, and arrange your things so they are easy to get to. By adhering to these safety tips for manufacturing, you can prevent accidents and ensure a smooth process.
What is the proper way to melt and pour wax for candles?
To properly melt wax for candles, use a wax melting pot to gradually heat the wax, and monitor the temperature with a thermometer to prevent overheating. Hold the wick in place in the mould or container, and then carefully pour the hot wax over it. After the suggested amount of time, let it set and dry before cutting the wick to the right length.
How can I add fragrances and colours to personalise my candles?
You can add essential oils, fragrance oils, and candle colours to your candles to make them smell and look unique. Add these things while the wax is melting, making sure to follow the directions for how much to add to get the colour and smell you want. This way, you can make candles that look appealing and smell great for your home.

